First-Time Solo Travel
How to Plan Your First Solo Trip to Thailand
The exact order to make your planning decisions in, with a rough timeline from three months out to departure week.

Planning a solo trip is different from planning a trip with other people, and it trips up first-timers in a specific way: there's no one to bounce decisions off, so it's easy to either freeze up trying to plan everything at once, or skip the planning entirely and hope it works out. Neither approach serves you well in Thailand, where a bit of sequencing makes the whole process much less stressful.
The good news is that the decisions naturally happen in an order, and each one depends on the one before it. Try to make them out of order — say, booking a specific hotel before you've decided how long you're going for — and you end up redoing work. This guide walks through that order, with a rough timeline attached so you know roughly when to tackle each stage. If you want the deeper reference on any individual topic, the complete beginner's guide covers destinations, budgeting, and safety in more depth.
Why order matters
Every one of these decisions constrains the next one. Your trip length limits how many regions you can visit. Your regions determine your internal flights and buses. Your transport plan determines which mornings you'll want to be well-rested versus which you can take slowly. And your daily plan determines your budget far more than any single big-ticket item will. Planning in sequence means you're never re-deciding something you already locked in.
Roughly 3 months out: decide if, when, and for how long
Before anything else, nail down three things: that you're actually going, a rough window of dates, and how many days you have. This is also the point to check whether your passport has enough validity left for travel to Thailand, since renewing a passport can itself take weeks.
Trip length is worth sitting with for a day or two rather than deciding on the spot. It's the single number that shapes everything downstream — a 7-day trip and a 14-day trip produce genuinely different itineraries, not just a longer version of the same one. Compare the 7-day solo Thailand itinerary and the 14-day solo Thailand itinerary to get a feel for what's realistic at each length, and if your travel dates line up with a birthday, the solo birthday trip itinerary is worth a look too.
This is also a sensible time to start watching flight prices, even if you don't book yet, and to check Thailand's current entry requirements on an official government or embassy source — these can change, and this is not something to leave until the week before you fly.
Around 6-10 weeks out: pick your regions and build a rough route
With your dates and trip length settled, decide which parts of Thailand you're actually visiting. Most first-time solo trips work best built around two or three regions rather than a long chain of stops — see the destination reasoning in the beginner's guide if you haven't settled this yet. Bangkok is the practical starting point for most itineraries; from there you're typically choosing between heading north to Chiang Mai or south to the islands around Phuket or Krabi.
Sketch this out loosely using the trip planner — you don't need exact dates for every stop yet, just a sensible order that doesn't have you backtracking across the country. This is also the point to book your international flights, since prices generally don't improve by waiting closer to departure, and to book any internal flights between regions if your route depends on them, as these can sell out or get pricier closer to the date.
Around 6 weeks out: build your budget
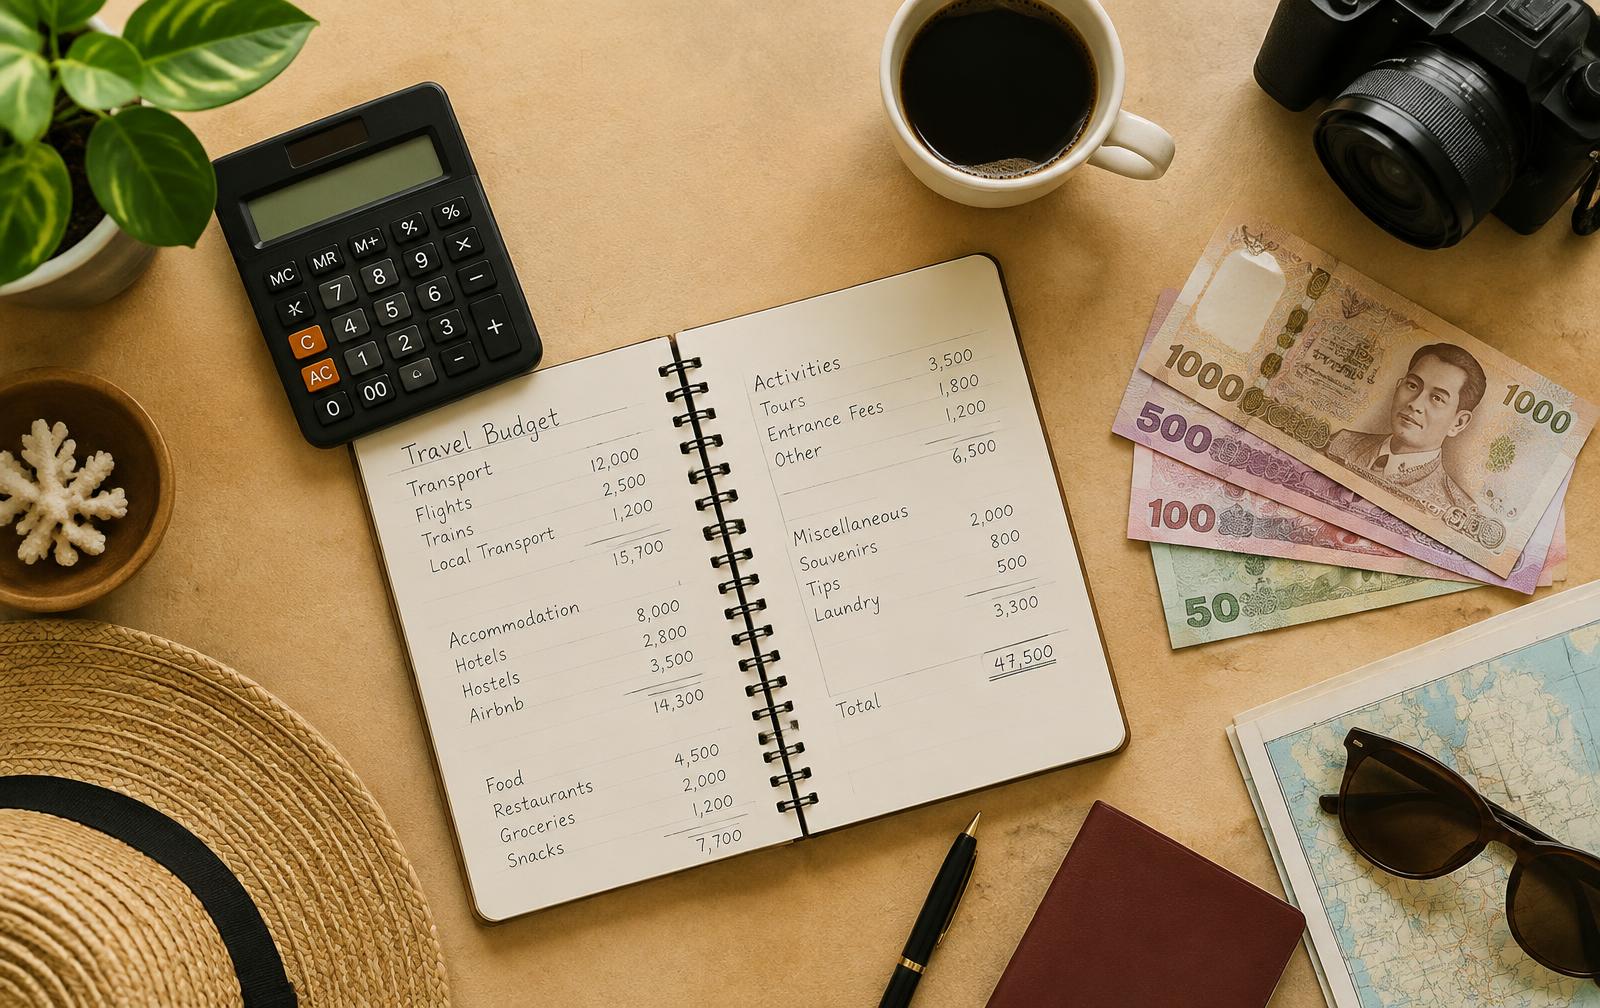
Once you know your route, you can put real numbers against it. Work out a daily spending estimate for each region you're visiting — accommodation, food, transport, and activities — using the budget calculator and the detailed breakdown in Thailand solo travel budget. Add a buffer on top; solo travel costs tend to run a bit higher per person than group travel because there's no one to split a room or a taxi with.
This is also a good time to sort travel insurance. Buying it early, rather than the week before you fly, means you're covered for trip cancellation and any pre-departure issues too, not just what happens once you land.
Around 4-6 weeks out: book accommodation
With your route and budget set, start booking places to stay. You don't have to lock in every single night if you want some flexibility later in the trip, but book your first few nights for certain — arriving in a new country with nowhere confirmed to sleep is an unnecessary source of first-day stress, especially alone.
Use the where to stay in Bangkok guide if Bangkok is your entry point, and check beautiful Bangkok hotels under $100 for a sense of what's available at that budget level (again, treat any figures there as illustrative, not live pricing). If you're weighing up hotels against apartment-style stays for longer legs of the trip, Hotels vs Airbnbs in Thailand walks through the tradeoffs — hotels generally suit solo travelers better for short stays because of the built-in staff and security.
Around 2-4 weeks out: fill in activities and transport details
Now that your base locations are set, start looking at what you actually want to do in each place and how you'll get between them. This includes deciding on things like an island-hopping tour from Krabi if that's part of your route, or working out your approach to getting around Thailand without a scooter for local transport.
You don't need to book every activity in advance — a lot of solo travelers deliberately leave some days open — but anything with limited capacity or that you're particularly set on is worth securing now rather than hoping for a same-day spot.
Around 2 weeks out: sort the logistics
With the shape of the trip locked in, turn to the practical layer:
- SIM/eSIM plan — decide whether you'll buy a SIM on arrival or set up an eSIM before you fly.
- Cash and cards — check your bank's foreign transaction fees and let them know you're traveling, if that's still standard practice for your bank.
- Document copies — save digital copies of your passport, insurance policy, and bookings somewhere accessible, like cloud storage or your email.
- Packing — start pulling together what you need using the packing checklist and the fuller what to pack for Thailand guide, so you're not scrambling the night before.
Departure week: confirm and plan your arrival
In the final week, reconfirm your first hotel booking, check your flight times haven't shifted, and — this is the step people skip most often — actually plan your first day on the ground. Long-haul flights leave you tired, and having even a loose plan for immigration, transport into the city, and your first meal takes a lot of pressure off. Read What to Do During Your First 24 Hours in Bangkok and our general first 24 hours guide before you fly, not after you land.
It's also worth doing one last check of Thailand's official entry requirements, since these are the kind of details that can shift between when you booked and when you fly.
A note on flexibility
None of this timeline is rigid, and real trips rarely follow it perfectly — you might book flights before you've fully decided your route, or lock in insurance earlier than suggested here. That's fine. What matters is the underlying logic: broad decisions before specific ones, bookings before logistics, and logistics before you're standing in an airport trying to figure it all out on four hours of sleep. Get the big pieces in the right order and the smaller ones tend to fall into place on their own.